Power Automate
Overview
Microsoft 365 is a cloud-powered productivity platform where customers subscribed to Microsoft 365, you can get access to productivity apps, such as Microsoft Teams, Word, Excel, PowerPoint, Outlook, OneDrive.
Many Microsoft 365 customers also utilize Microsoft automation or IpaaS products as well, namely Power Automate and Azure, as part of their overall automation strategy. This section outlines the best practices for customers leveraging Power Automate, which is an integration platform that allows customers to build custom integrations and automated processes across Office 365 and third-party applications without the help of developers. Anyone from a basic business user to an IT professional can create automated processes using Power Automate's no-code/low-code platform.
Products Leveraged
The Reference architecture below leverages the following PoweAutomate components:
- Microsoft Power Platform: Low-code development platform for building apps and workflows. Power automate is useful to string multiple API calls together by leveraging pre-built connectors.
- Automated Flows
- Scheduled Flows
- Desktop Flows
- Azure Active Directory: Identity and access management
Integration Patterns & Best Practices
Paths Workspace
Within the Power Automate platform, you can choose between Cloud Flows or Desktop Flows. Cloud Flows are great for integrating systems that have REST APIs, whereas Desktop flows broaden the existing automation capabilities by also allowing robotic process automation (RPA) capabilities in Power Automate, enabling you to automate repetitive tasks that don’t have REST APIs.
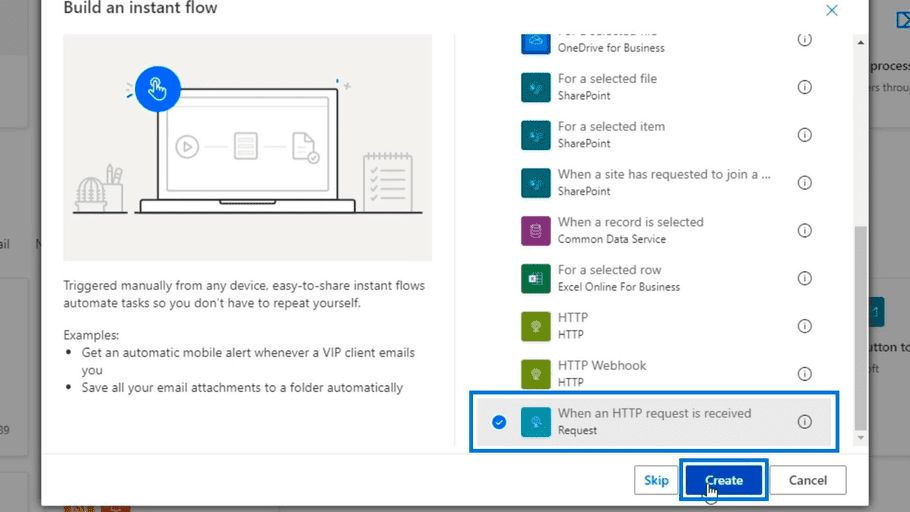
Similar to Azure Function Apps, you can create a Microsoft Flow with an HTTP Trigger. With an HTTP Trigger, you create an endpoint that the Paths Workspace can trigger.Once the flow is created, and you have defined your JSON schema, the Paths workspace can be configured to send data as JSON, and when you click on any field in the subsequent connector form UIs within Power Automate, you can see the JSON parameters (from the schema) that can be added into the fields used for automation.

HTTP Trigger for a full walk through of building a flow and trigger it using a simple REST API.
Query Workspace
Power Automate is your best option for background flow or asynchronous processes, in the case of the Query Workspace, you need to follow the request/response paradigm, which is a synchronous process. Due to this, it is not recommended to use Power Automate with the Query workspace.
Event Workspace
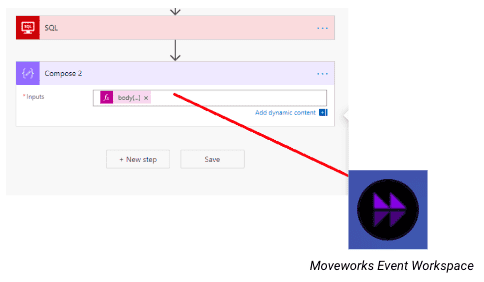
With the Event workspace, Power Automate can be used to run queries to gather a set of users to send messages out to. The benefit with PowerAutomate is that you can leverage pre-built connectors to query against other systems. For example, you can run a SQL Query in PowerAutomate to query against a SQL database, and then run a post-processing step to resolve unique user ids into email addresses, to send out messages via the Moveworks Event Workspace.

warning
Instead of contacting customer success for an API key, just provision one yourself
Microsoft Power Automate needs an Open API Spec (OAS) 2.0 in order to automatically create a Custom Connector. You can follow their instructions here.
You will need our OpenAPI Specification.
Then you can use Moveworks in your Power Automate flows!
Other Considerations
- Power Automate offers a variety of licensing options, it is worth reviewing the licensing options offered here to ensure once you connect your Flow with Moveworks, that you will not incur unexpected costs.
- Flows created with the “When an HTTP request is received” trigger can be executed by anyone that knows the URL.
- Endpoint configuration: Oftentimes, the endpoint that Power Automate generates ends in the port 443. This should be truncated when setting up the connector in Creator Studio. So, use .logic.azure.com instead of .logic.azure.com:443
Smart Links & iFraming
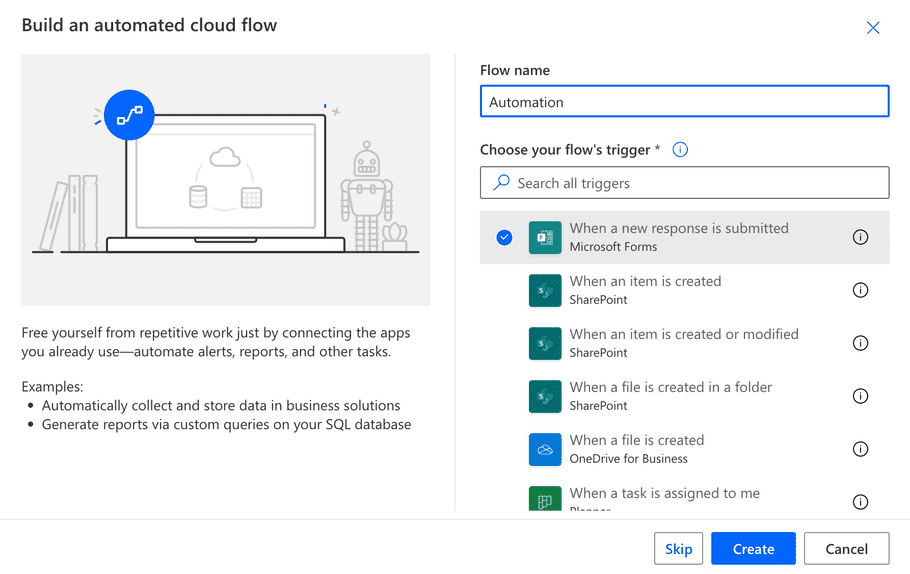
You can use Microsoft Forms + Power Automate to create powerful, actionable experiences.
- Create a Microsoft Form (https://forms.office.com/).
- Get an embeddable link for your form. Make sure that it is public to the web.
- Follow our iFraming guide for Configuring Additional Websites to whitelist
forms.office.com. - Connect your form to a workflow using Power Automate

- Follow the iFraming guide to send your form as a smart link